

Kid’s Name Bracelet Project
This DIY is super fun to do with the kids over the summer break, to keep them occupied for at least a little while – so next time you hear “I’m boooored” grab the materials in the list below and get making these fun name bracelets with the little ones.
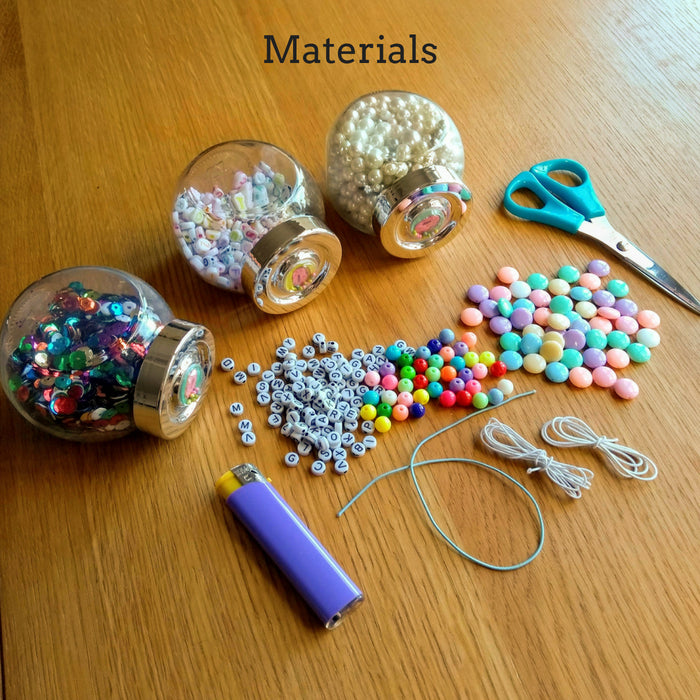
Materials
- Scissors
- Elastic
- Alphabet beads (number beads)
- Assorted beads
- Sequins
- Lighter (of course adult use only – just to finish the ends to stop fraying)
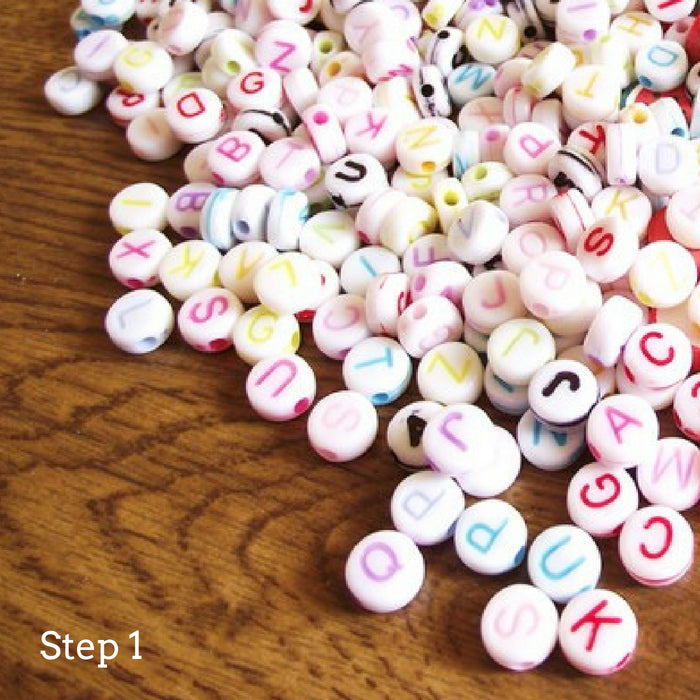
Step 1
Grab all of your beads and find the letters you need for the name. Then you need to measure a piece of elastic to fit around your kid’s wrist and leave some extra for tying the ends together.
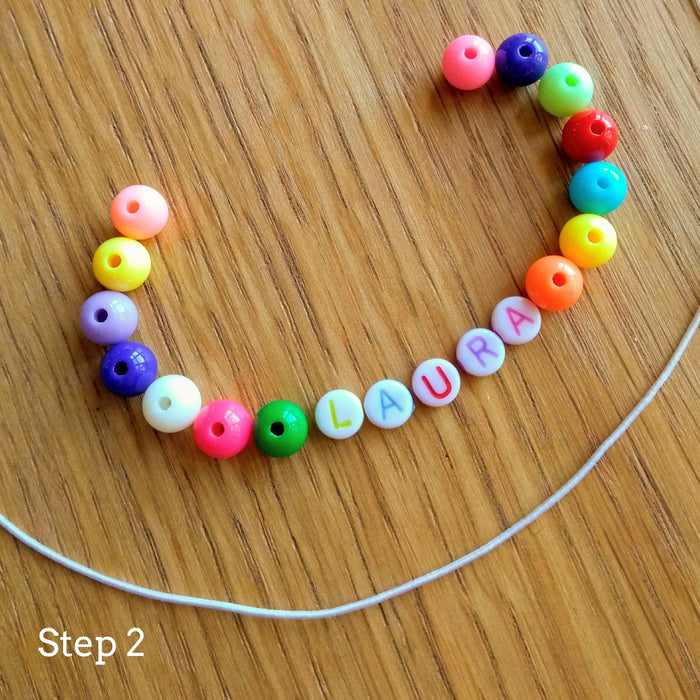
Step 2
Decide on the rest of your design. Choose whether you want to put small beads in between the letters, or just create your design around the name. Your child can use their favorite colors or create a fab rainbow design!
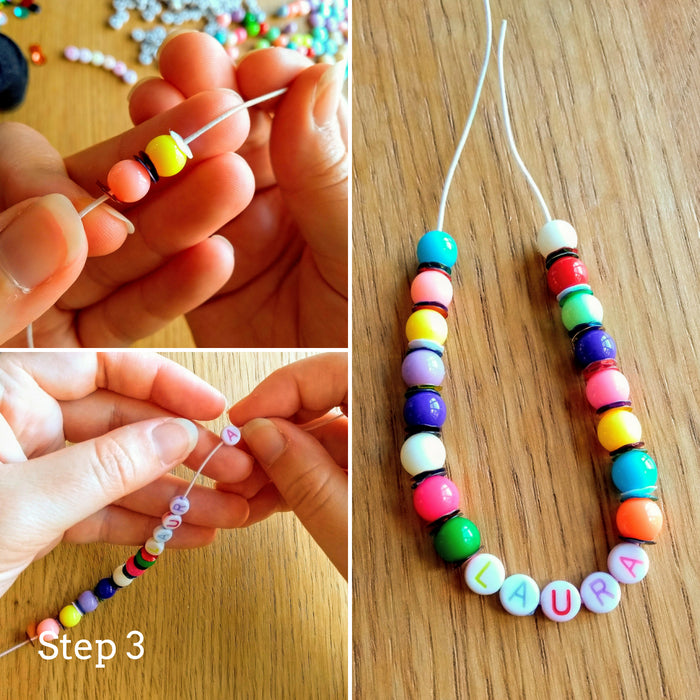
Step 3
Now here’s the fun part – threading your design! Just make sure to be careful not to lose the design off one side of the elastic while you thread the beads on. You could tie a knot in the elastic to stop this from happening, as it can be a teeny bit fiddly for little hands.
We added sequins into our design for some added sparkle, but you don’t have to – they might not be suited to smaller beads as could end up being a little scratchy.
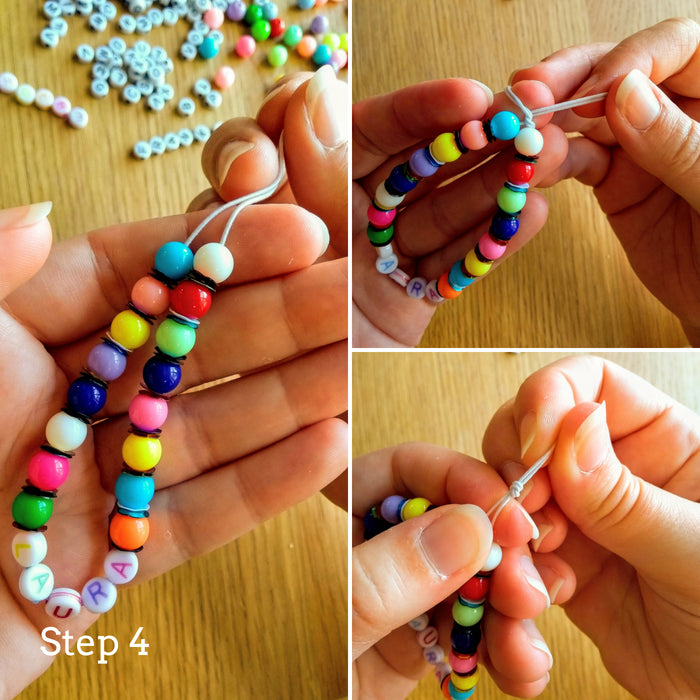
Step 4
It’s probably best that you finish off the bracelet with a good knot (it might be too tough for little ones to tie themselves). Pull the knot a little tight to stretch the elastic slightly – this will stop it from being too loose.
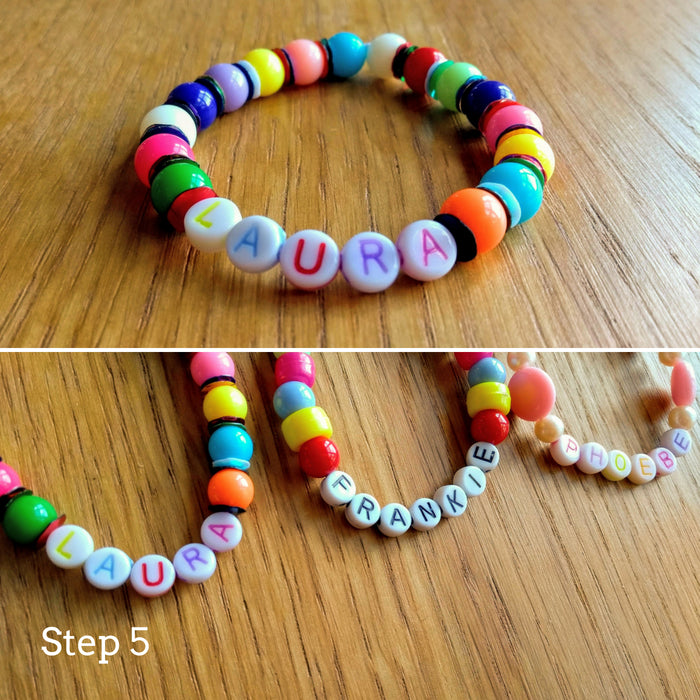
Step 5
Make as many as you want! This is the perfect jewelry DIY for a rainy day or it would make a fun project at a sleepover, so everyone goes home with a cute DIY name bracelet.

Leave a comment